Flashing: Manually installing MicroG
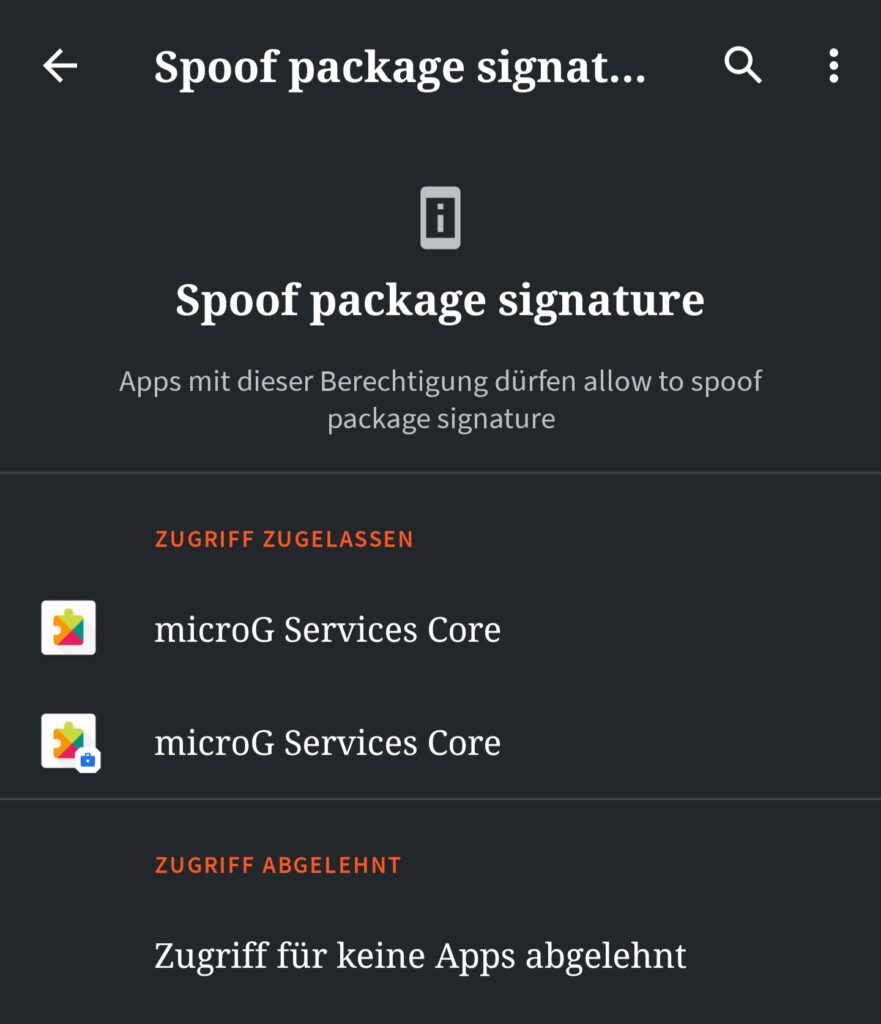
Now it gets spicy. If your device is not supported by any ROM that includes MicroG but you still need to use it, you have to manually install it. This will, in almost all cases, make it necessary to patch your kernel with a specific NanoDroid patch that allows apps to ask for signature spoofing permissions. It basically allows certain apps to masquerade as another app. Do never, ever ever ever, allow anything else than the microG Services Core, MicroG Fake Store and the Spoofing Checker this specific permission!
Check Signature Spoofing Status
First we want to install the “Signature Spoofing Checker” from F-Droid. This little tool does nothing else than requesting the permission, thereby checking its existence. When opening it should most likely tell you, in a flashing red screen, that Signature Spoofing is disabled.
Download NanoDroid packages and get into Recovery Mode
The two files we need for this are Nanodroids “patcher” as well as “MicroG” packages. Download them and place them in your internal storage where you can find them easily later and where they can stay. Now reboot into Recovery Mode. Select “Mount” and make sure your internal storage is mounted. Now select “Install” and navigate towards both files (your internal storage can be found either at /sdcard/ or in one of the folders under /storage/).

First, install the patcher. This will cause your phone to manipulate a system file accordingly so granting the spoofing privilege is possible. The reason why these files have to stay in your internal storage however is that you most likely need to re-apply this patch every time your operating system receives an update, since the file gets overwritten. This is the one big disadvantage of the manual method.
After the patcher finally finished, reboot into recovery. Make sure you’re still on the same slot as before (if you’re not sure just re-apply the patch). Now do the same process again, but this time flash the MicroG package. This will install any necessary components and apps as system applications. Don’t forget to wipe Dalvik afterwards, as usual.
Configure MicroG
Now that we installed both packages, reboot into your system and open the Spoofing Checker again. This time around it should first ask for permission, then showing a bright green screen to confirm everything is working as expected.
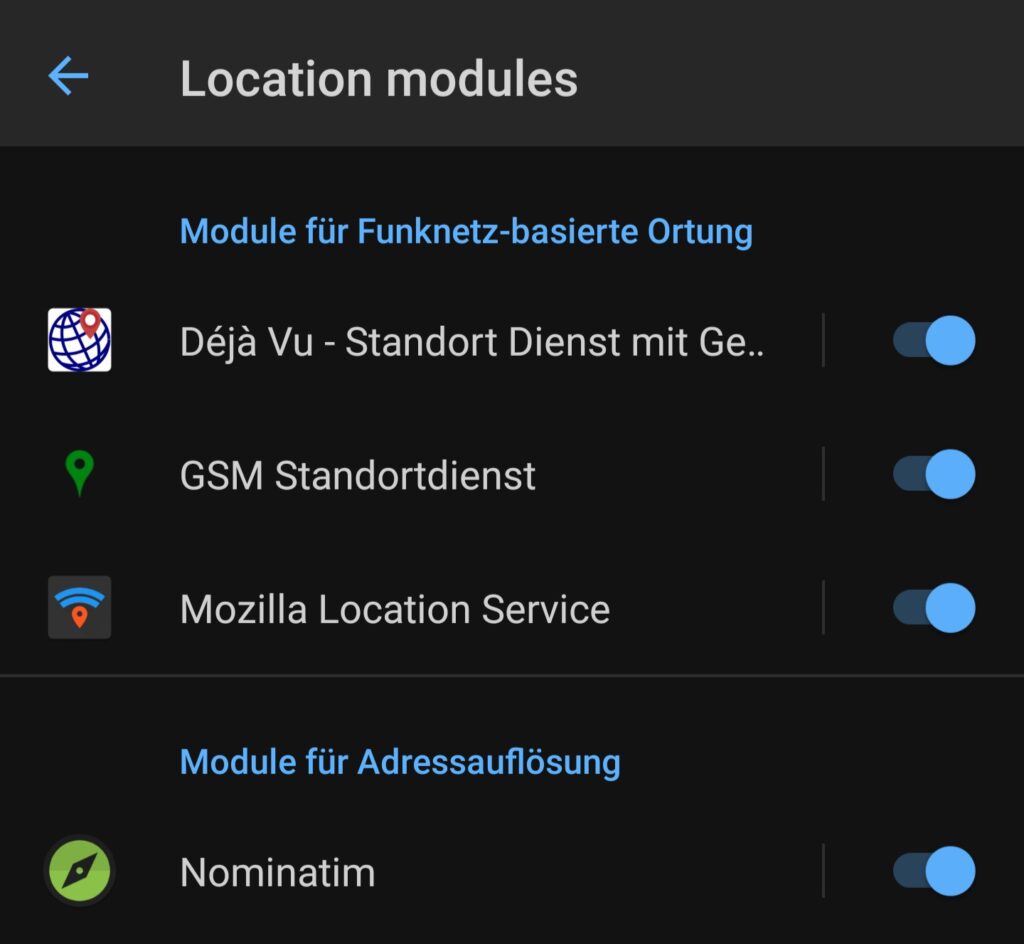
Proceed by opening the MicroG app. In there check your Location Modules for already existing ones (I’m actually not sure if NanoDroid installs any of them by default). I recommend you download those modules you can see in the picture on the right as they’re privacy-aware and work just fine. You’ll find every single one in F-Droid.
After installing them you first have to configure them, then activate them inside MicroG. That part should be quite straight-forward; for the GSM location provider you have to download a map of all cell towers, for Mozilla you need to allow both options presented. Nominatim works fine with OSM.

After we’ve done that it’s time to open the very first MicroG setting, the self-test. Most entries you see probably won’t be checked – you can change this by tapping on all of them. It’s usually just a matter of granting privileges or disabling something.
“Play Store does not have the correct signature”
This is a common error. You can fix this by enabling USB Debugging with root privileges (both needs to be checked in the developer options). Now connect your device to your PC and use ‘adb devices‘ once so your phone asks you to give permission.
Now use ‘adb shell‘. This will enable you to use commands directly on your phone. Enter the following, one after another:
su
pm grant com.android.vending android.permission.FAKE_PACKAGE_SIGNATURE
exit
exit
This will grant the MicroG fake store used to communicate with apps that expect the Play Store to be present the signature spoofing ability. Usually this doesn’t need to be done manually, it’s a known bug.
GPS not working properly
Another known problem that can be solved through ‘adb shell’. Follow the instructions above and enter the following commands:
su
pm grant com.google.android.gms android.permission.ACCESS_FINE_LOCATION
pm grant com.google.android.gms android.permission.READ_EXTERNAL_STORAGE
exit
exit
While these problems should be fixed nowadays, I still include them here in case people still run into it.
